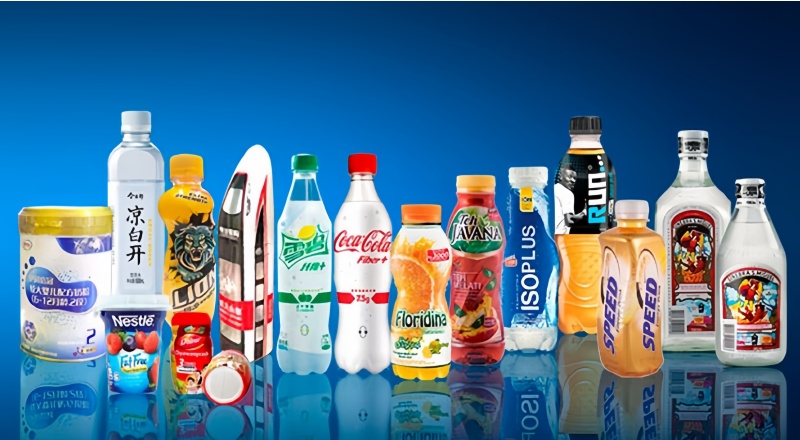


1. Base material preparation: Selection and treatment of shrink film
This is the foundation of the production process, as the material of the film directly determines the shrinkage performance and applicable scenarios of the sleeve label.
Step 1: Select the base material based on requirements. Common materials include PVC, PET, PETG, and OPS, each with different shrinkage rates, environmental friendliness, and temperature resistance.
Step 2: Pre-treat the film. Some films need surface corona treatment to increase surface tension, ensuring that the ink adheres firmly during subsequent printing and preventing ink from peeling off.
Step 3: Install the rolled film onto the unwind device of the printing machine to ensure smooth film feeding and prepare for subsequent printing.
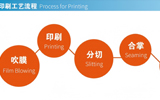
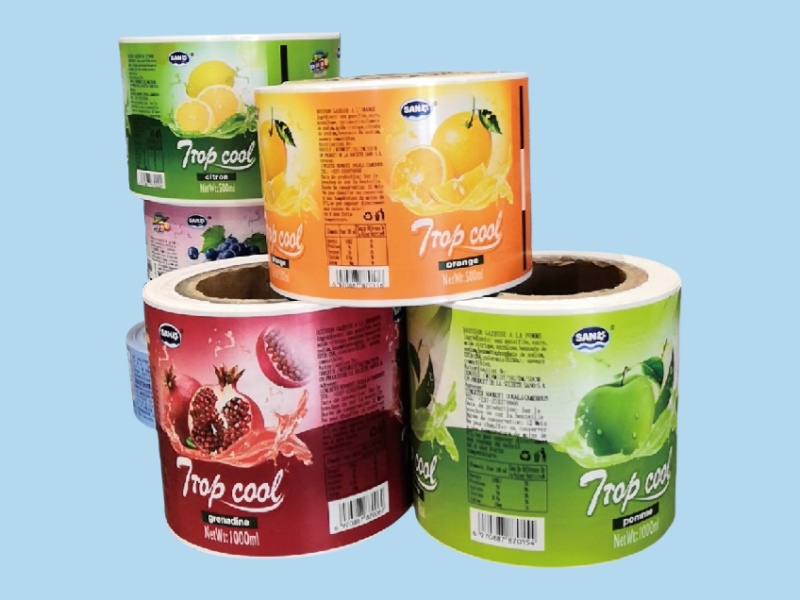
2. Printing: Presenting patterns and information on the film
Printing is a crucial step that determines the appearance and information transmission of the sleeve label. The mainstream process is "inside printing".
Step 1: Use rotary gravure or flexographic printing technology. Both have their advantages. Rotary gravure offers high color fidelity and fine patterns, suitable for large-scale production; flexographic printing is cost-effective and flexible in plate changing, suitable for medium and small batch or multiple batch orders.
Step 2: Since the shrink sleeve label will eventually adhere to the container, to prevent pattern wear, printing should be done on the "inner side" of the film (the side that contacts the container), which is "inside printing". During printing, the ink is first applied to the inner side of the film. After tube making, the pattern will be clearly visible from the outer side.
Step 3: After printing, the film must pass through a drying device to quickly dry the ink, preventing pattern smudging and ensuring the ink adheres firmly to the film.
3. Slitting: Cutting the printed film into specified widths
This step is to match the subsequent tube making and the final product's size requirements.
Step 1: According to the customer's required sleeve label height, use a slitter to longitudinally slit the continuous printed film roll into several narrow film rolls of consistent width.
Step 2: During slitting, precision must be strictly controlled to ensure that the width error of each narrow film roll is within 0.1-0.3mm, avoiding size deviations during subsequent tube making and affecting the sleeve label's adhesion effect.
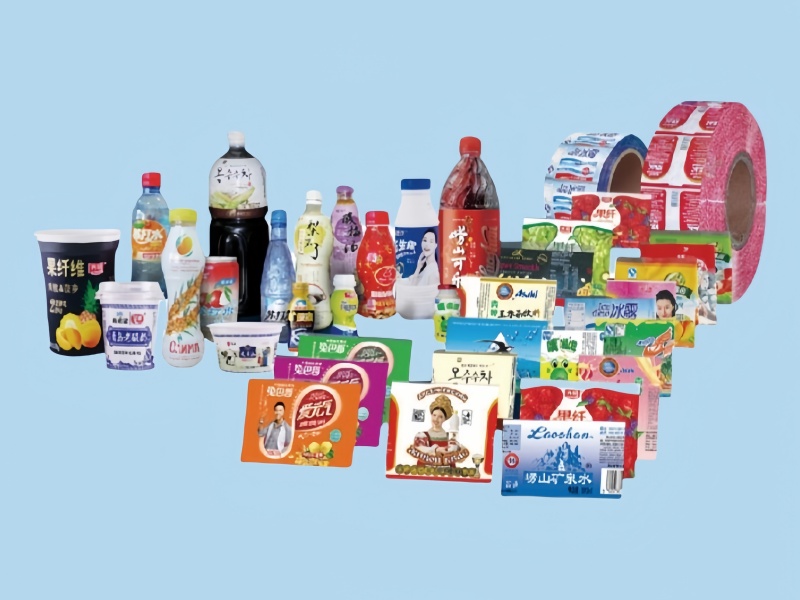
4. Tube making: Transforming the narrow film into a tubular sleeve label
This step converts the flat film into a tubular structure that can be applied to containers, with the core being "seam welding".
Step 1: Install the slit narrow film rolls onto the tube-making machine. The film is continuously fed and rolled into a cylindrical shape. At this point, the two longitudinal edges of the film need to be aligned.
Step 2: Use heat sealing or ultrasonic welding technology to weld the aligned edges together, forming a sealed tubular structure. During welding, temperature and pressure must be controlled to ensure a strong and smooth weld, preventing cracking during subsequent heating and shrinking.
Step 3: According to customer requirements, cut the continuous tubular film into specified lengths horizontally to form individual or rolled tubular sleeve label semi-finished products. Some may be directly cut into individual sleeve labels for ease of use in subsequent automated sleeve label machines.
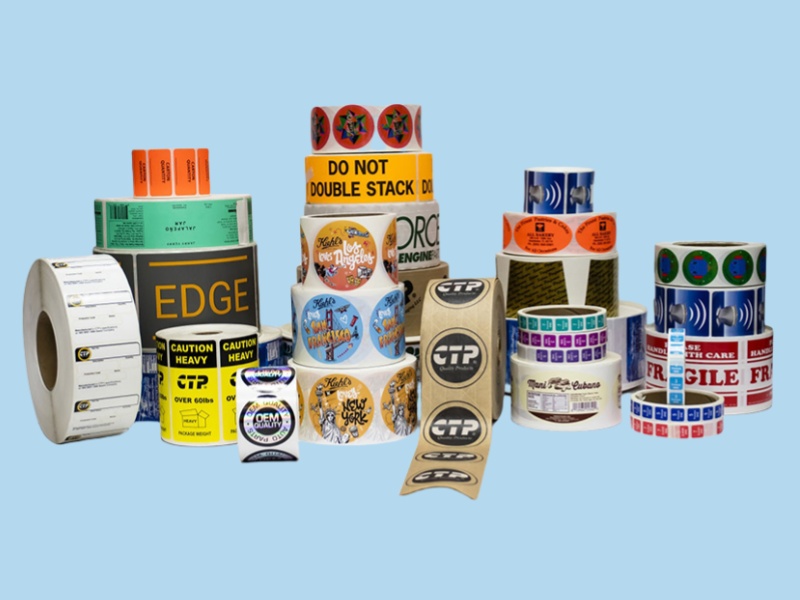
5. Post-processing (optional): Adding special functions
Based on product requirements, some sleeve labels may undergo additional processes to enhance functionality or aesthetics.
Anti-counterfeiting treatment: After printing or tube making, add QR codes, laser anti-counterfeiting labels, or thermochromic ink to enhance product anti-counterfeiting capabilities, commonly seen in pharmaceutical and health product sleeve labels.
Surface treatment: Some sleeve labels may undergo matte film lamination, glossy film lamination, or hot stamping, UV spot varnishing to improve surface texture and visual depth, often used in cosmetic and high-end beverage sleeve labels. If you need more intuitive references, such as the process differences in printing and tube-making between different materials (like PET and PVC), or if you want to know the equipment parameters for a certain step, I can help you compile a comparison table of the manufacturing processes for shrink sleeve labels. Do you need it?